
How to Make a Boxwood Valentine’s Day Wreath
Create a warm welcome to your home with a homemade seasonal wreath. Here is how I made a boxwood Valentine’s Day floral wreath.
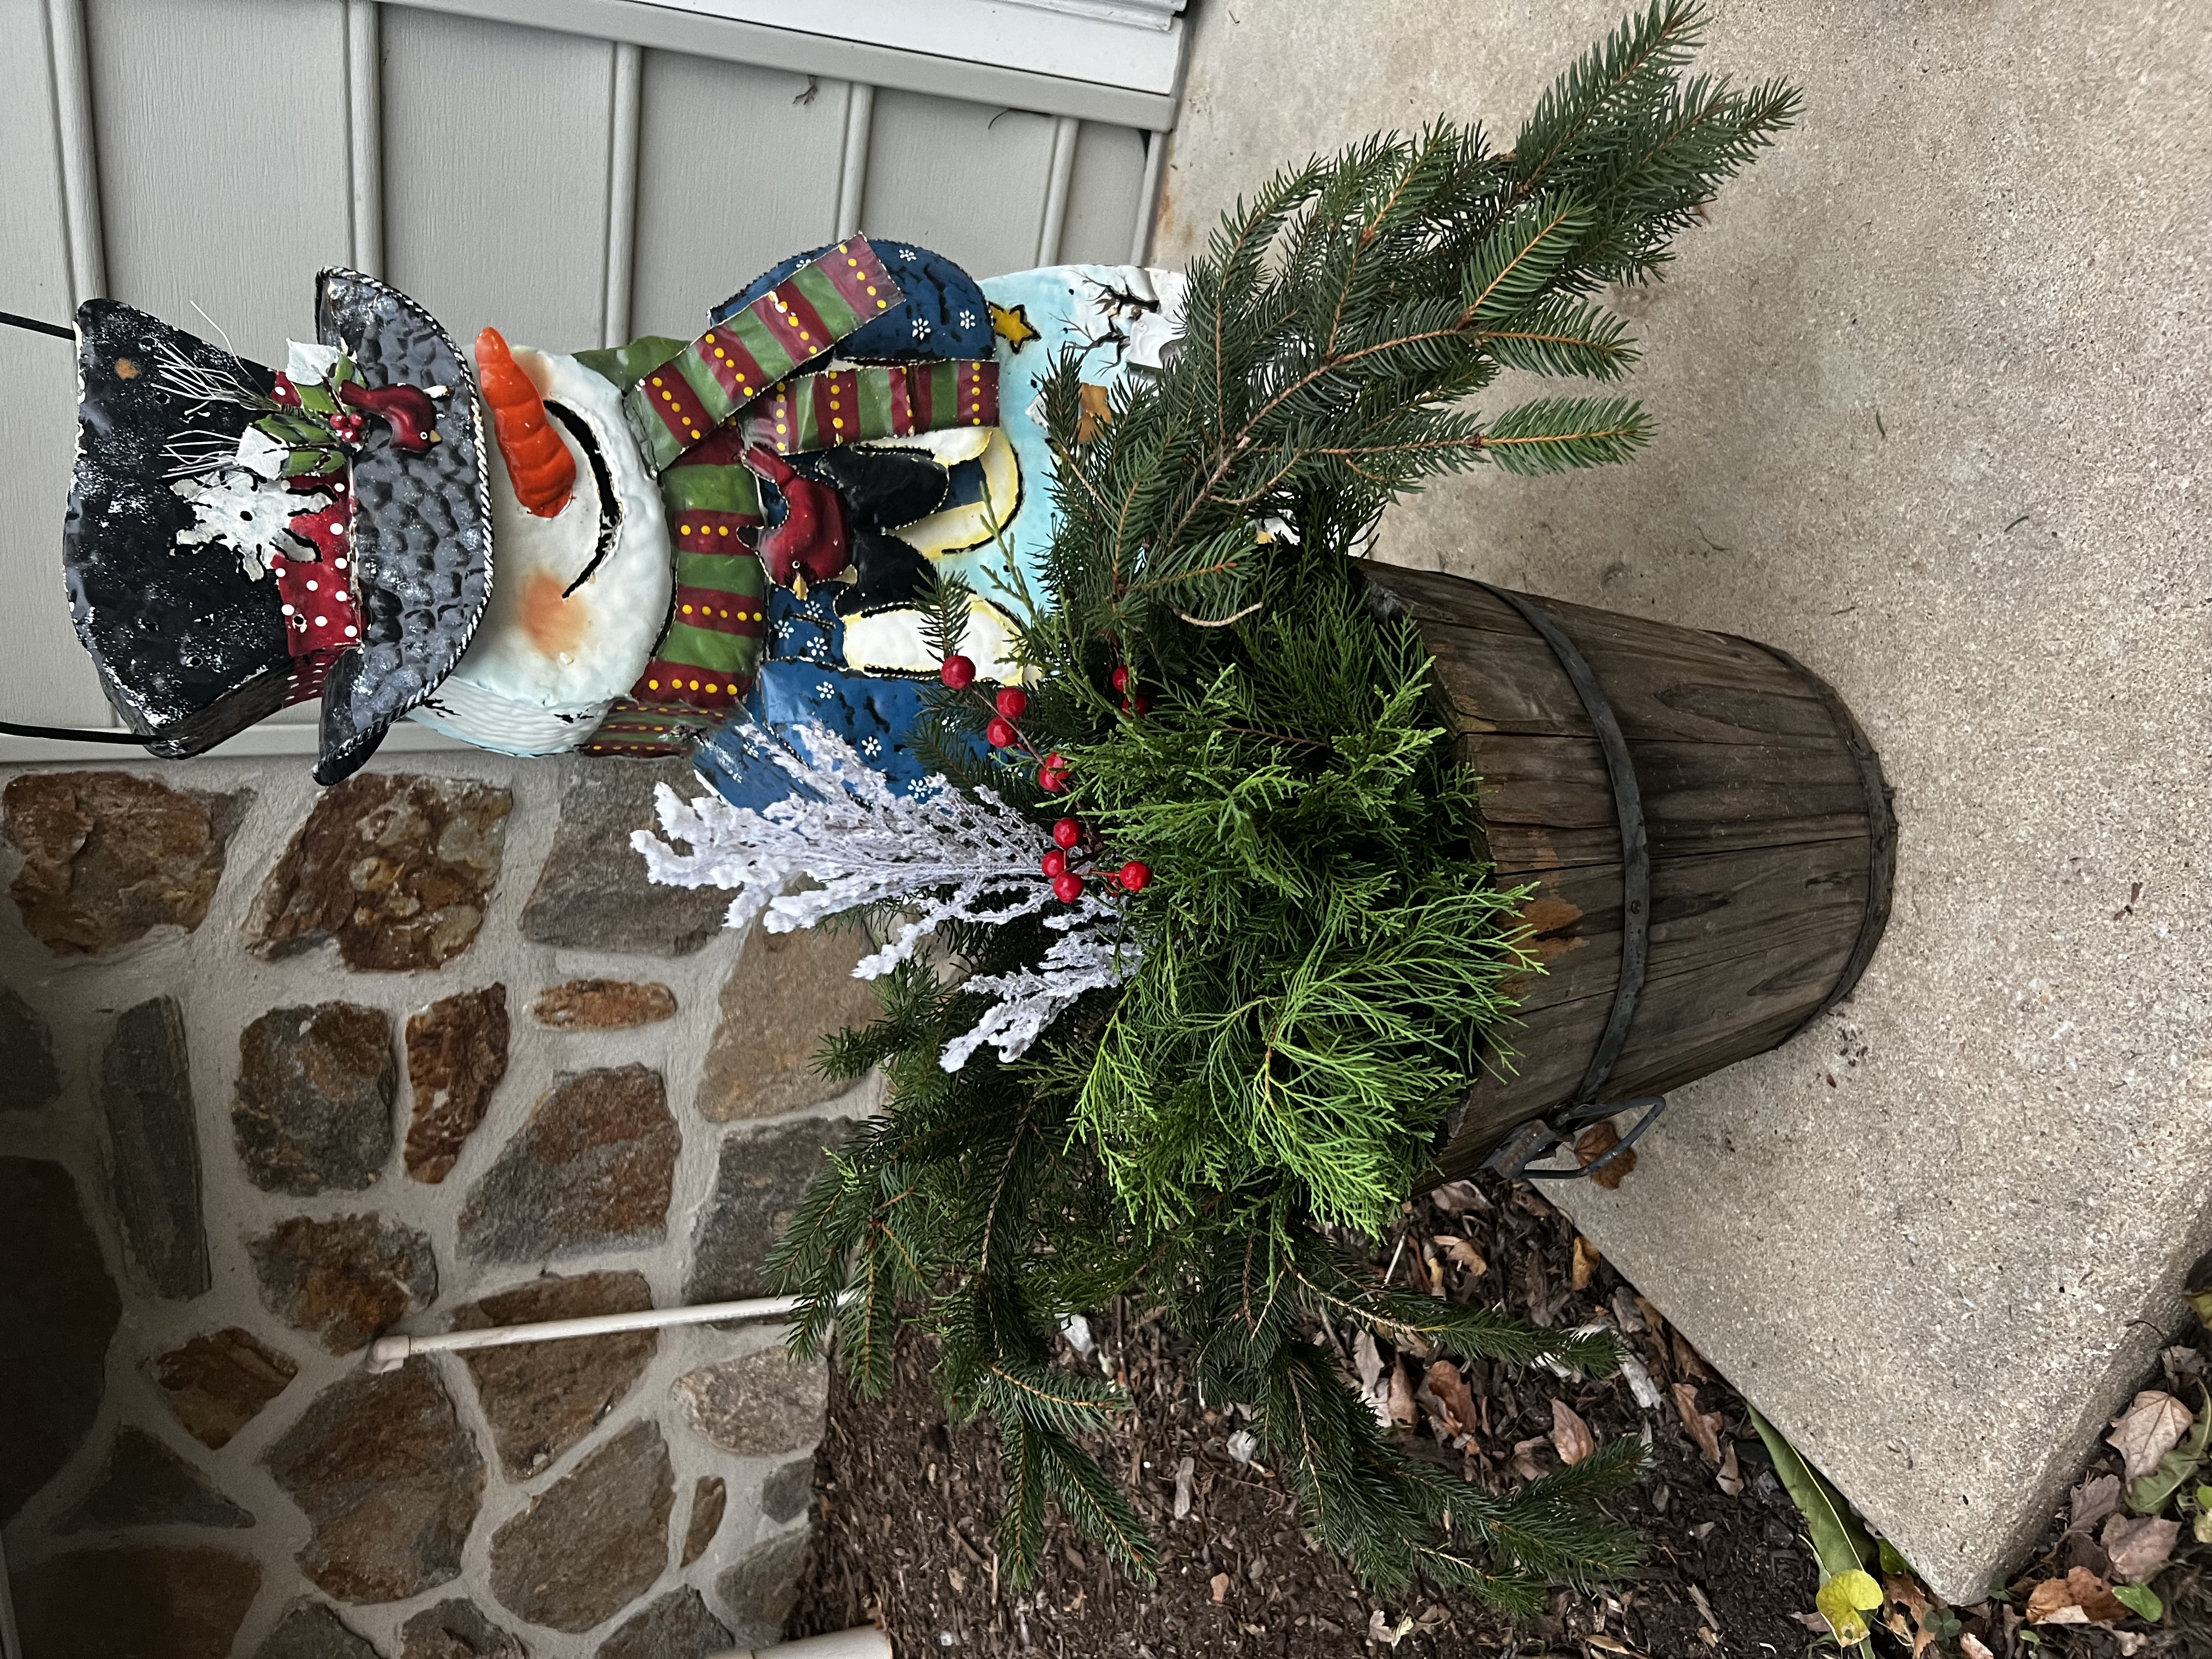
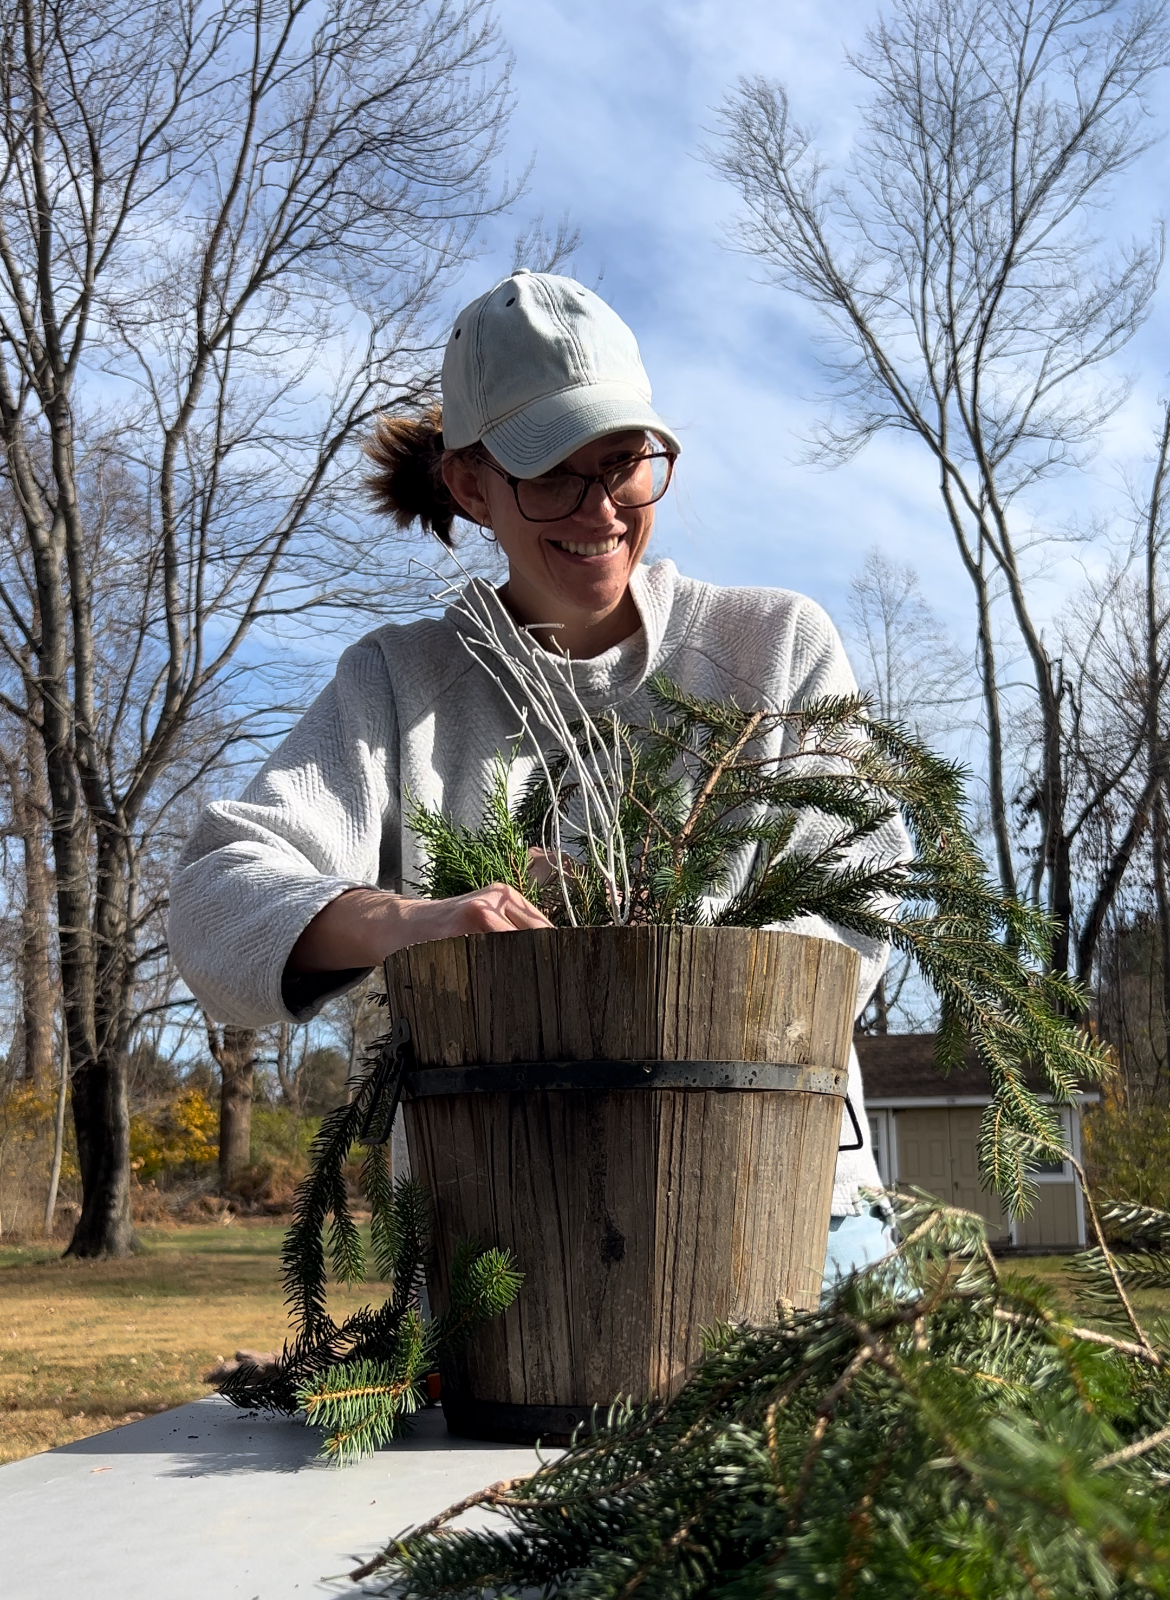
Adding some winter greenery to your front porch gives a festive touch and warm greeting for your guests. Perhaps you had some floral arrangements throughout the spring, summer, and fall. Continue this hobby with winter porch pots! For these arrangements, I used materials we already owned with clippings from our very own evergreen bush and pine tree.
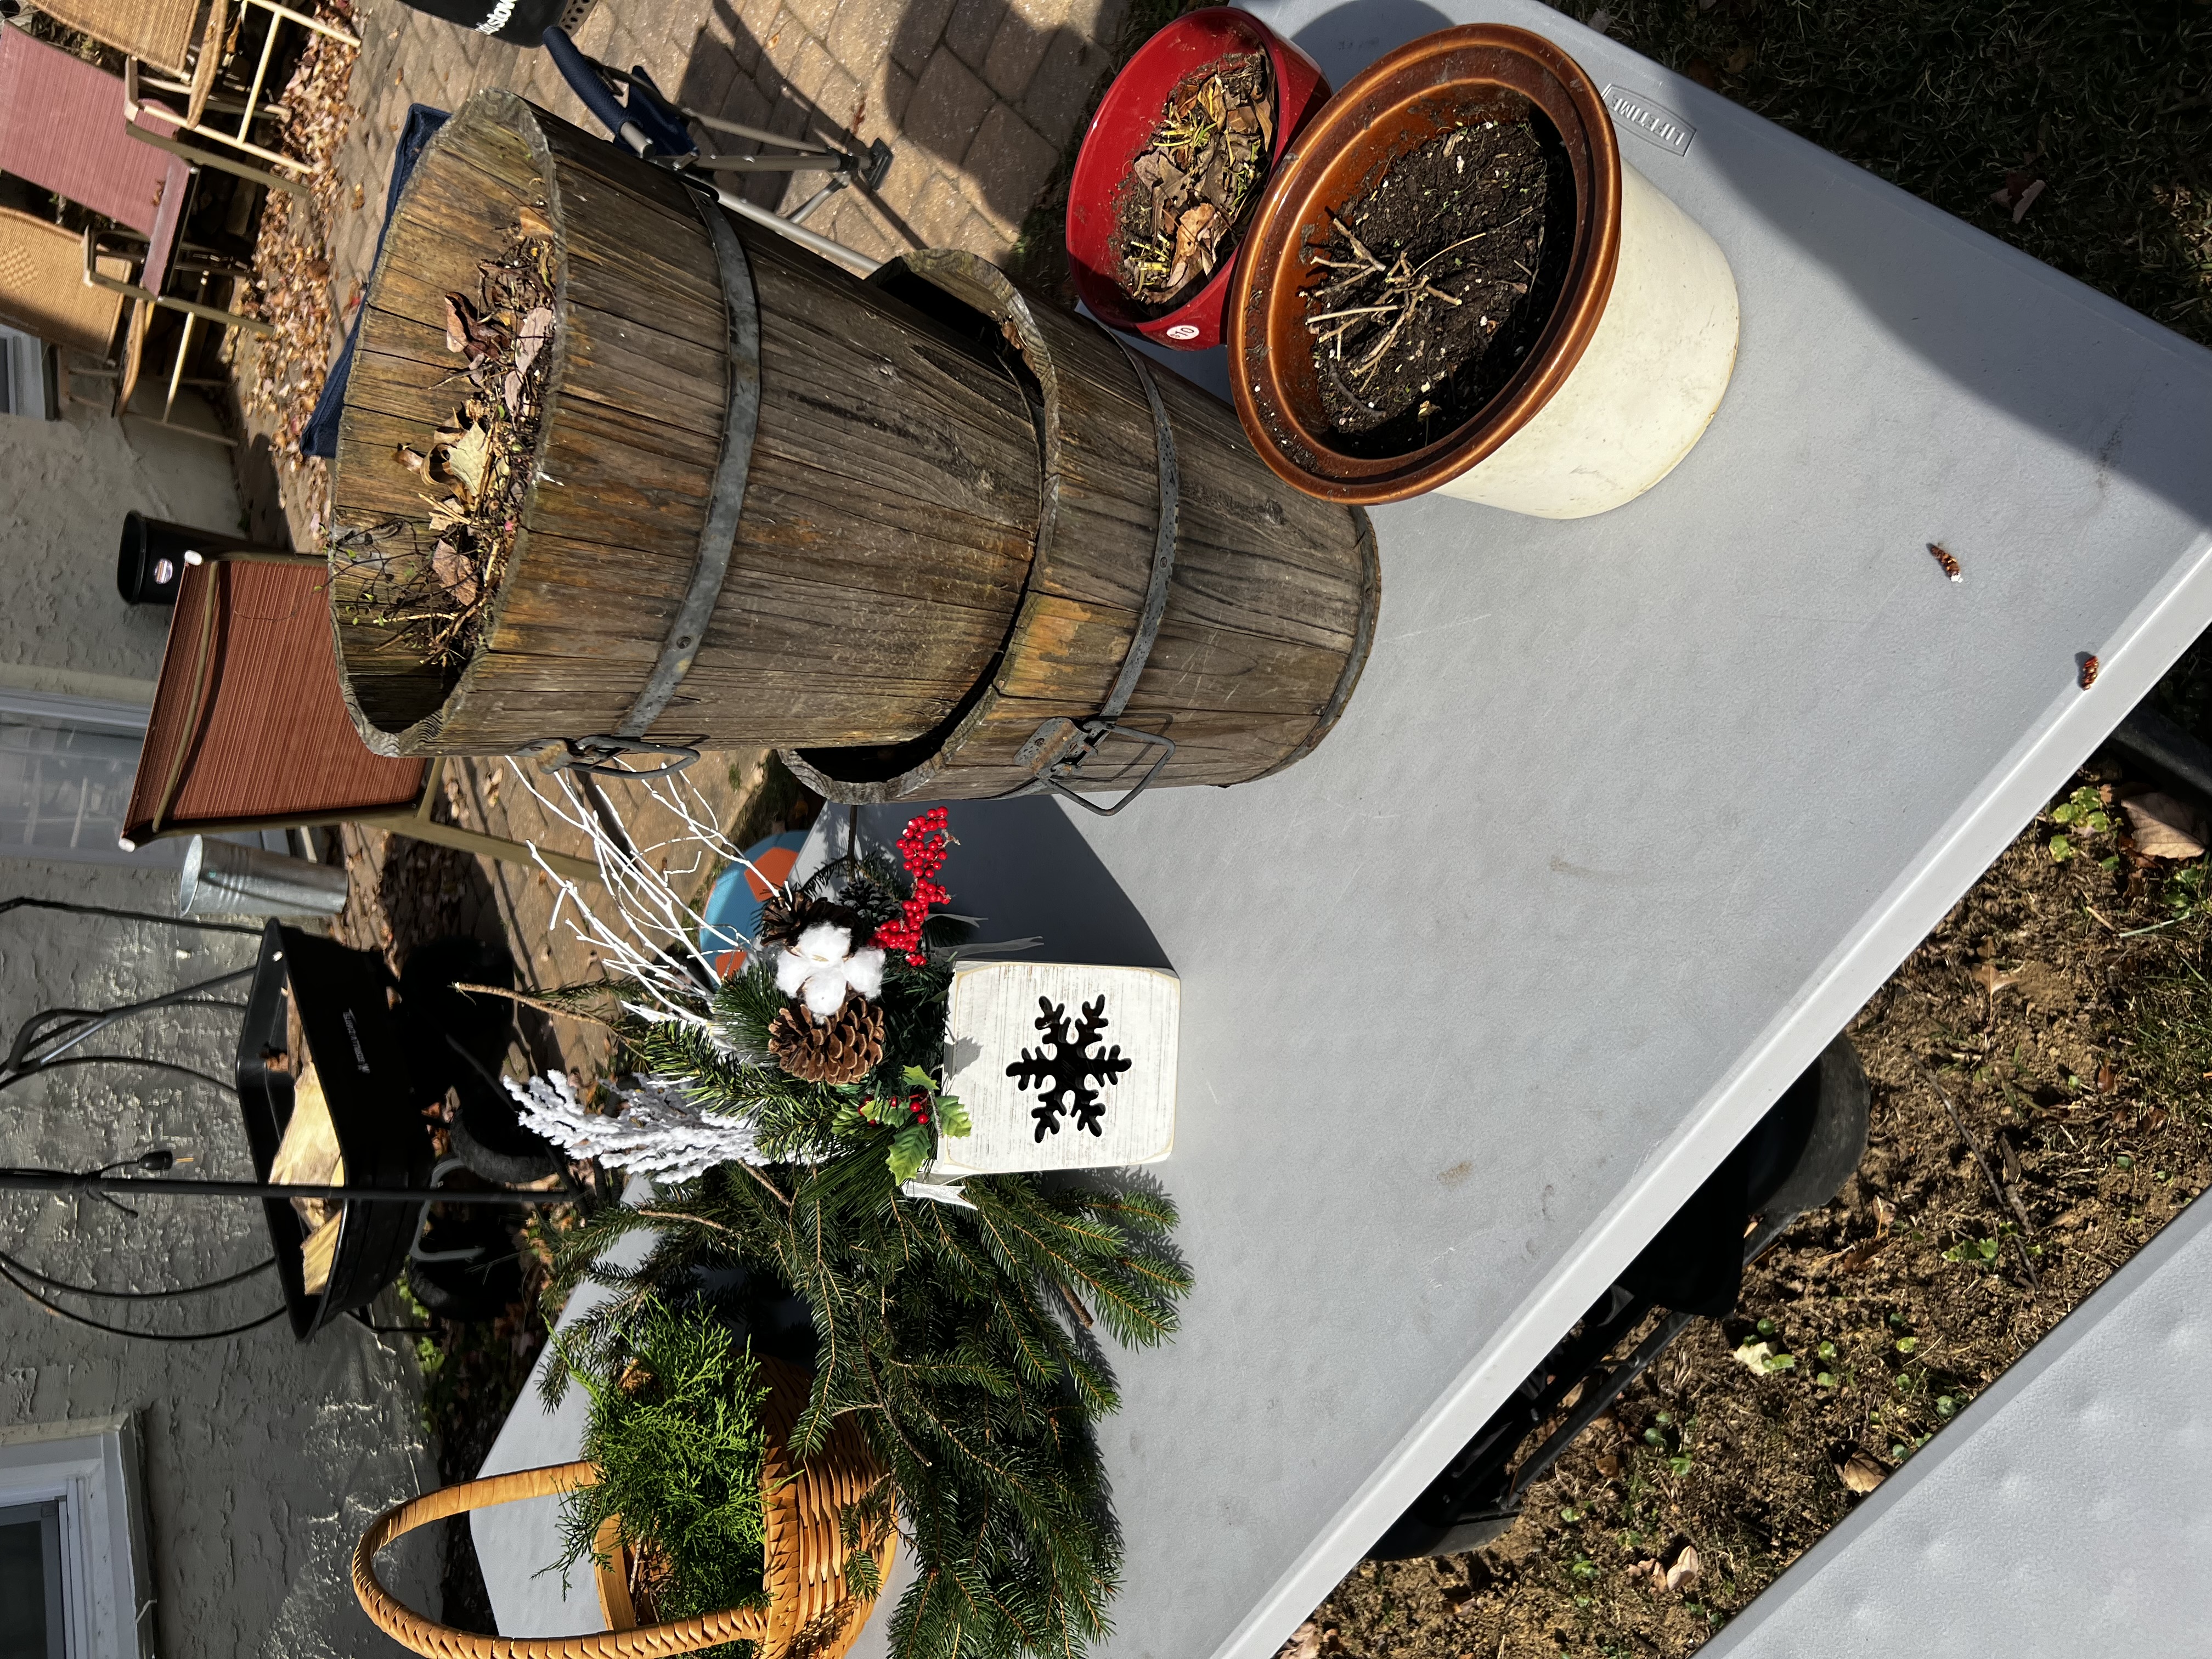
For these winter porch pots, you will need the following materials:
Missing something? click here to shop my garden essentials.
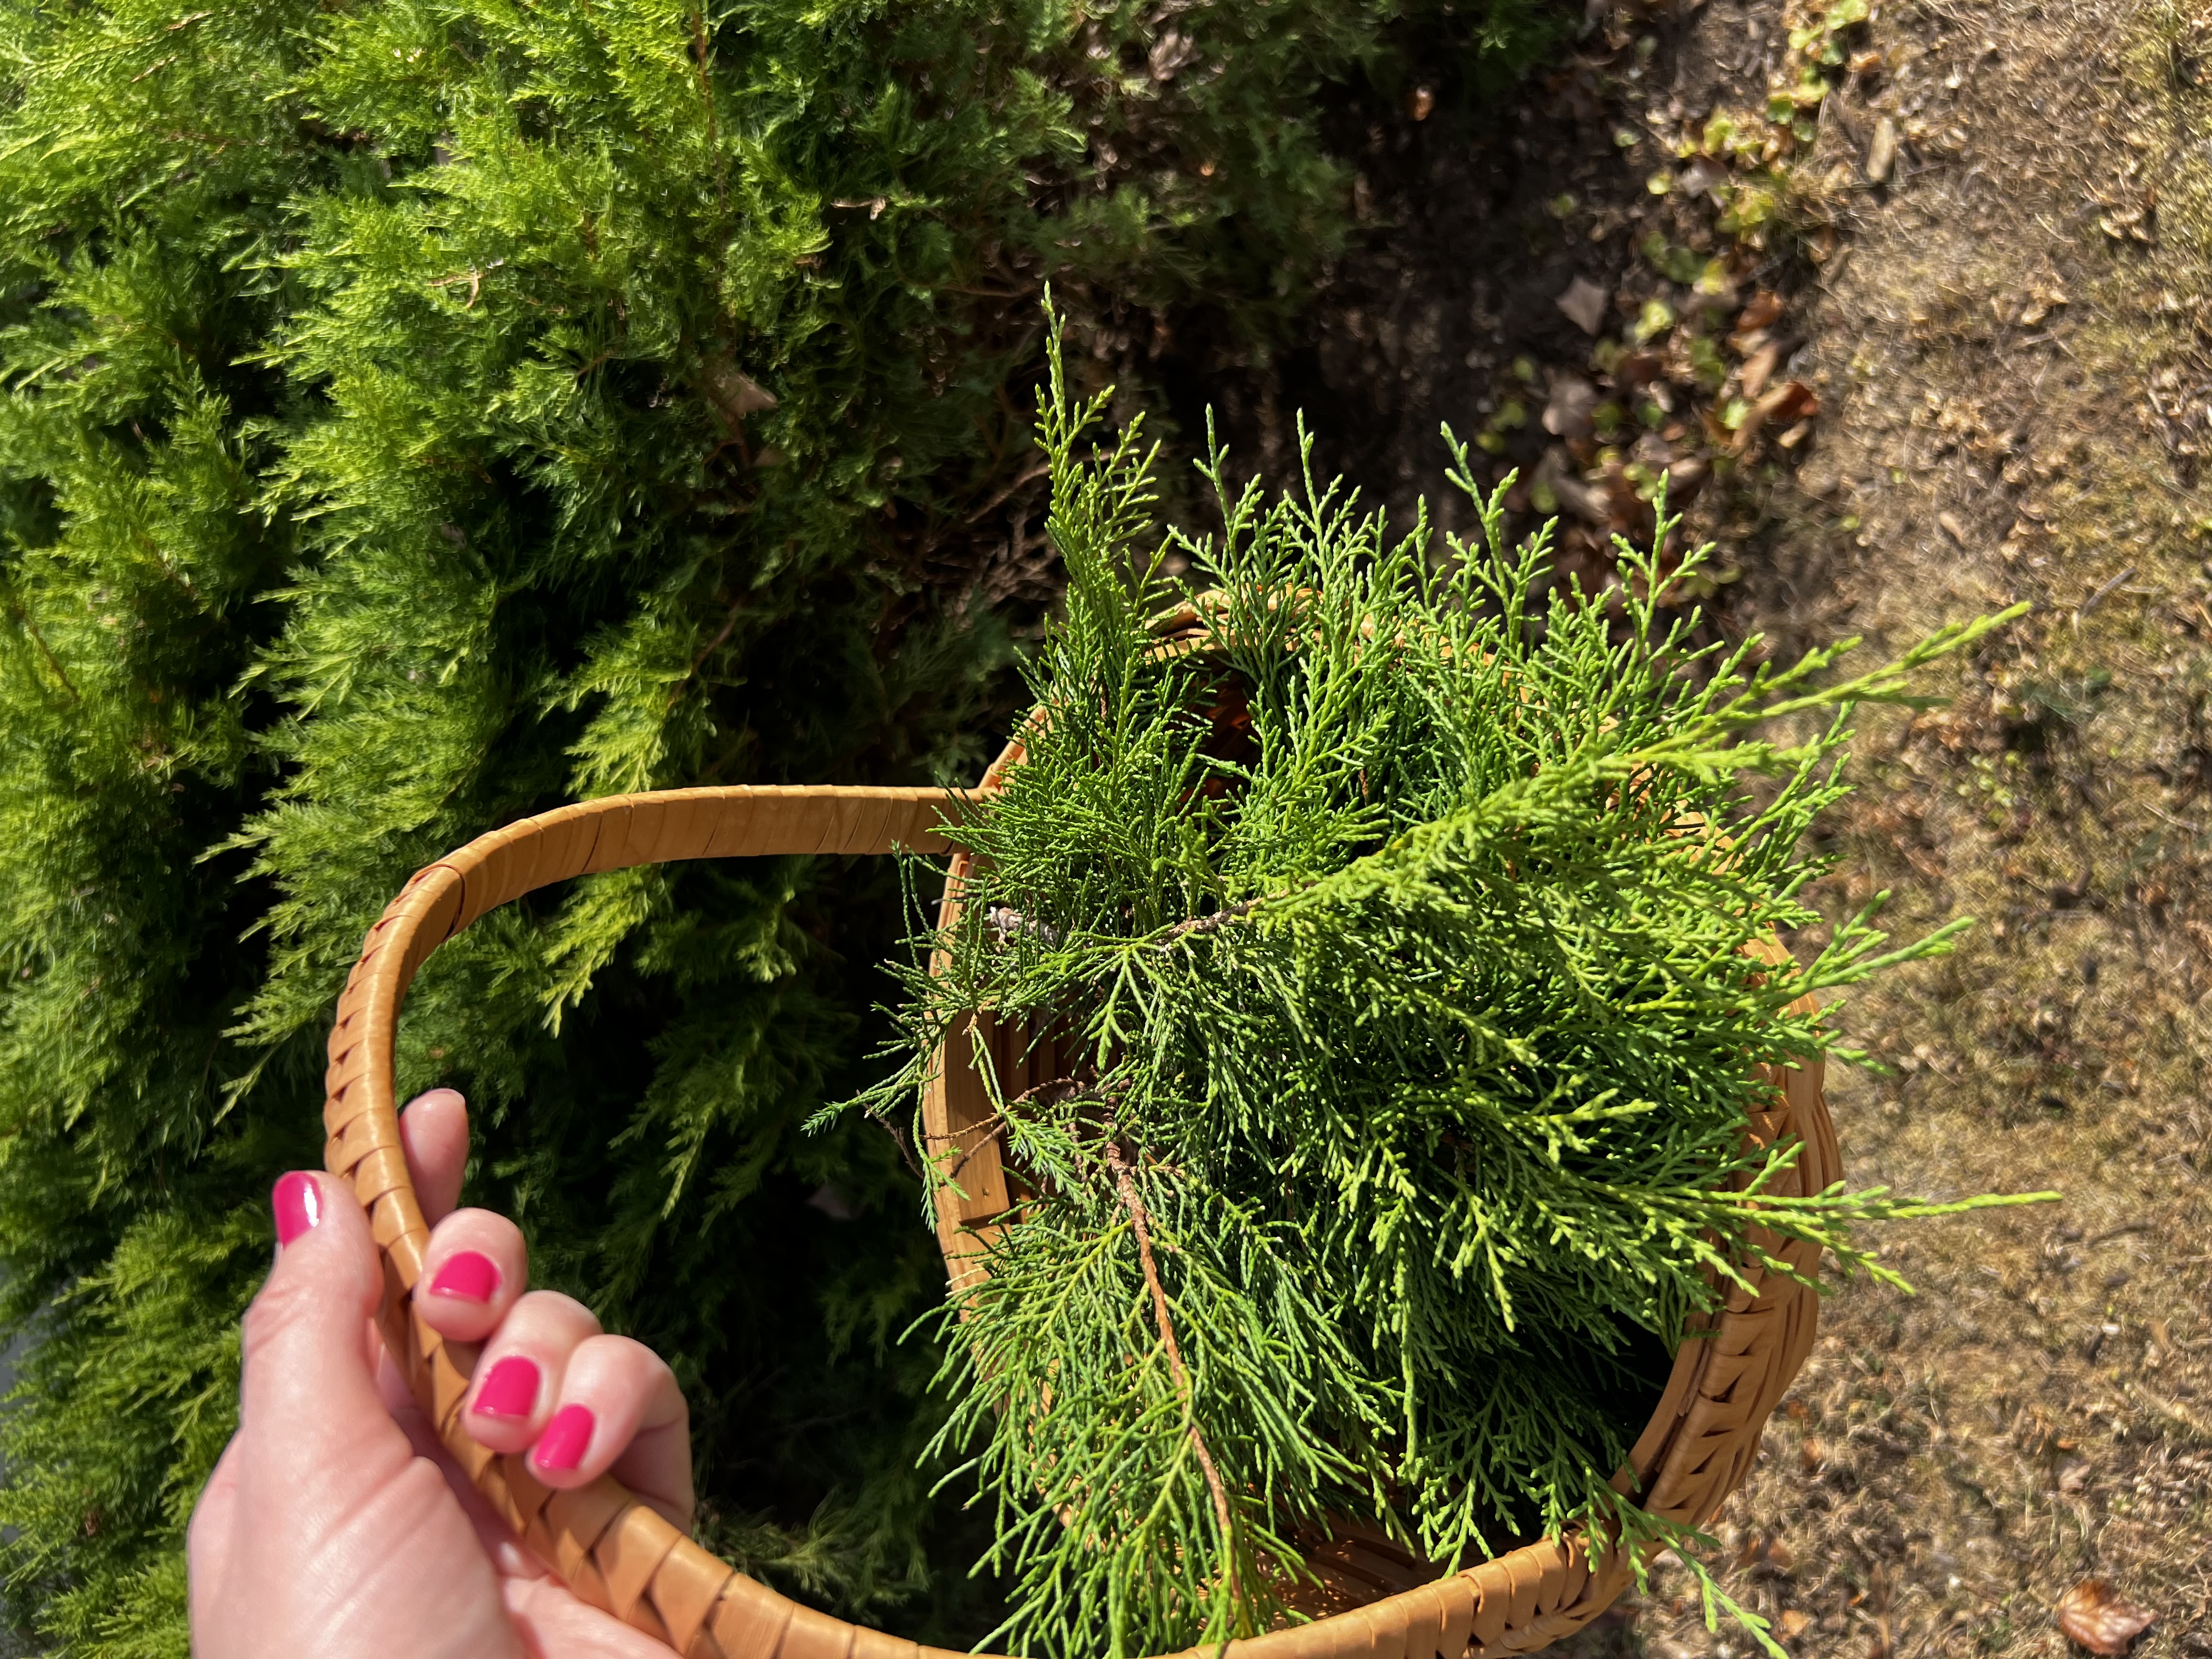
Using pruners, safely clip evergreen and pine branches being sure to select pieces with full leaves and long stems. When you start arranging your clippings in the pot, you can shorten the stems as needed. My pots already had soil in them so I just needed to clean out any leaves, acorns, or other debris.
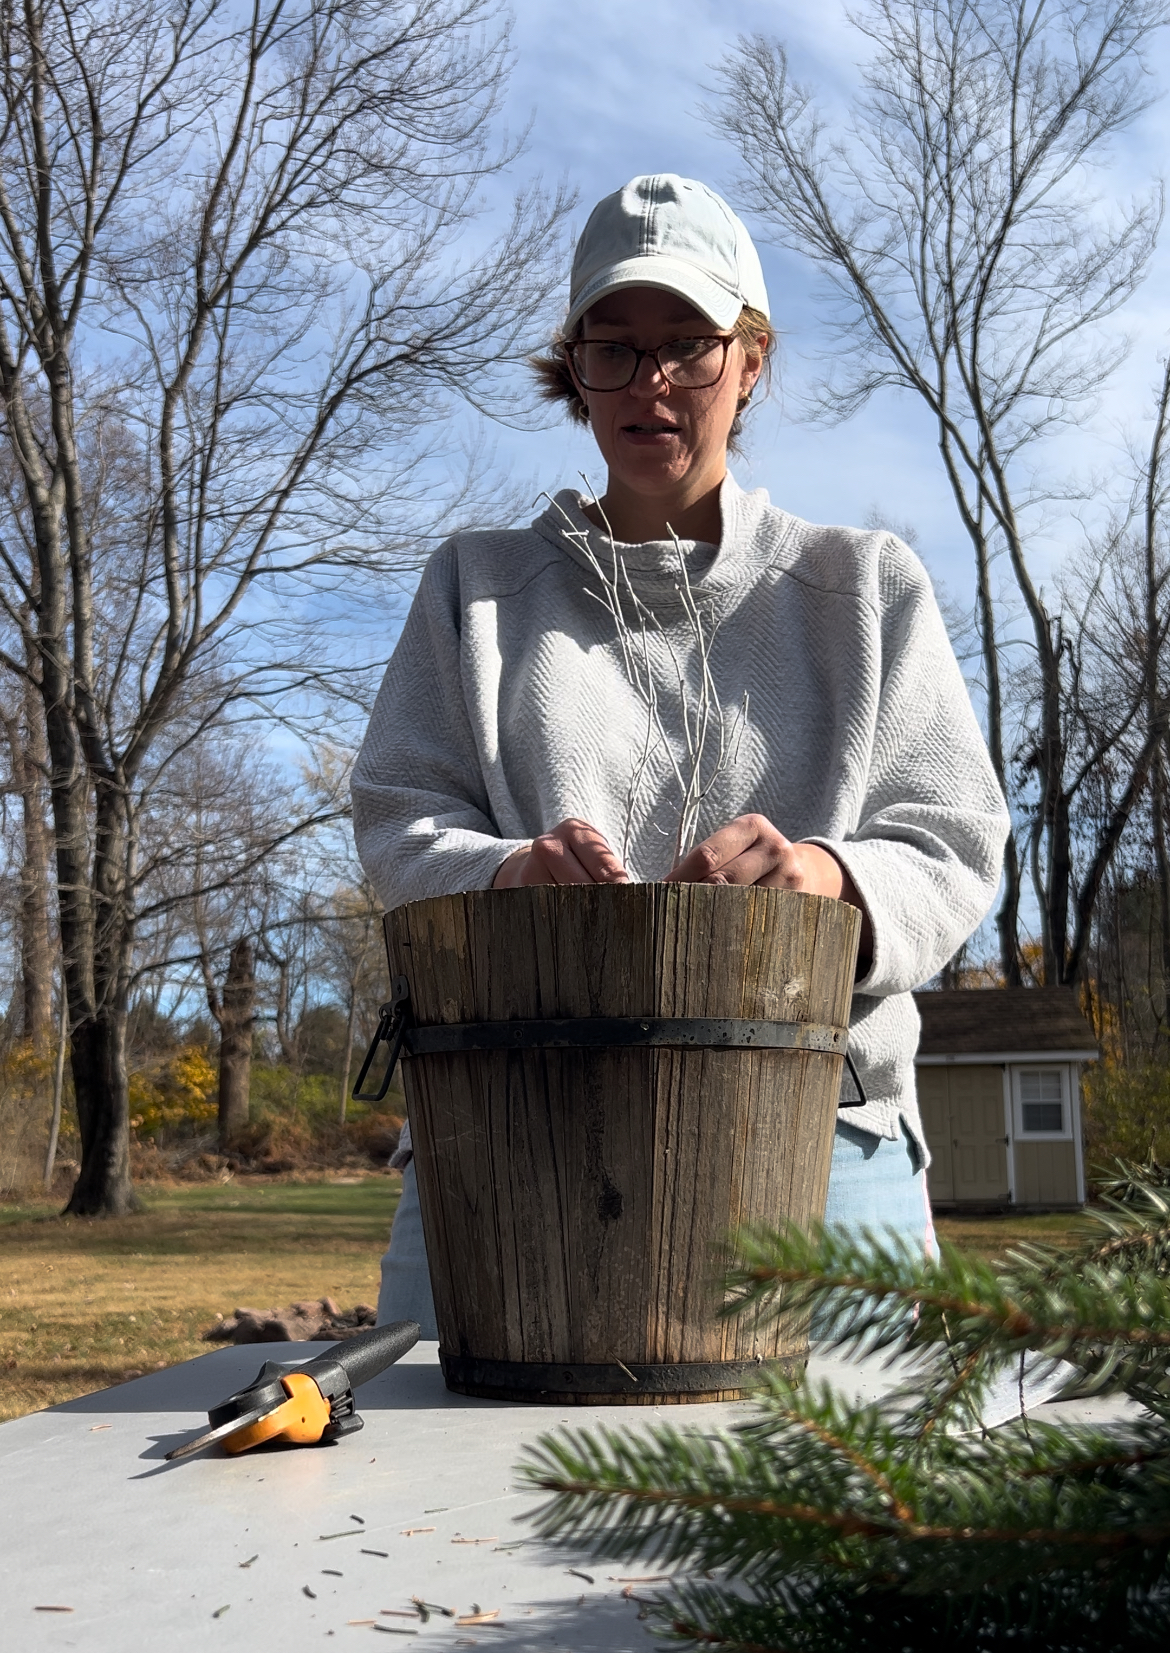
I started my winter pots in the center by adding some faux white twigs and holly that I found at a thrift store years ago. Doing this step first and working my way out allowed me to get a better idea of how to layer the branches.
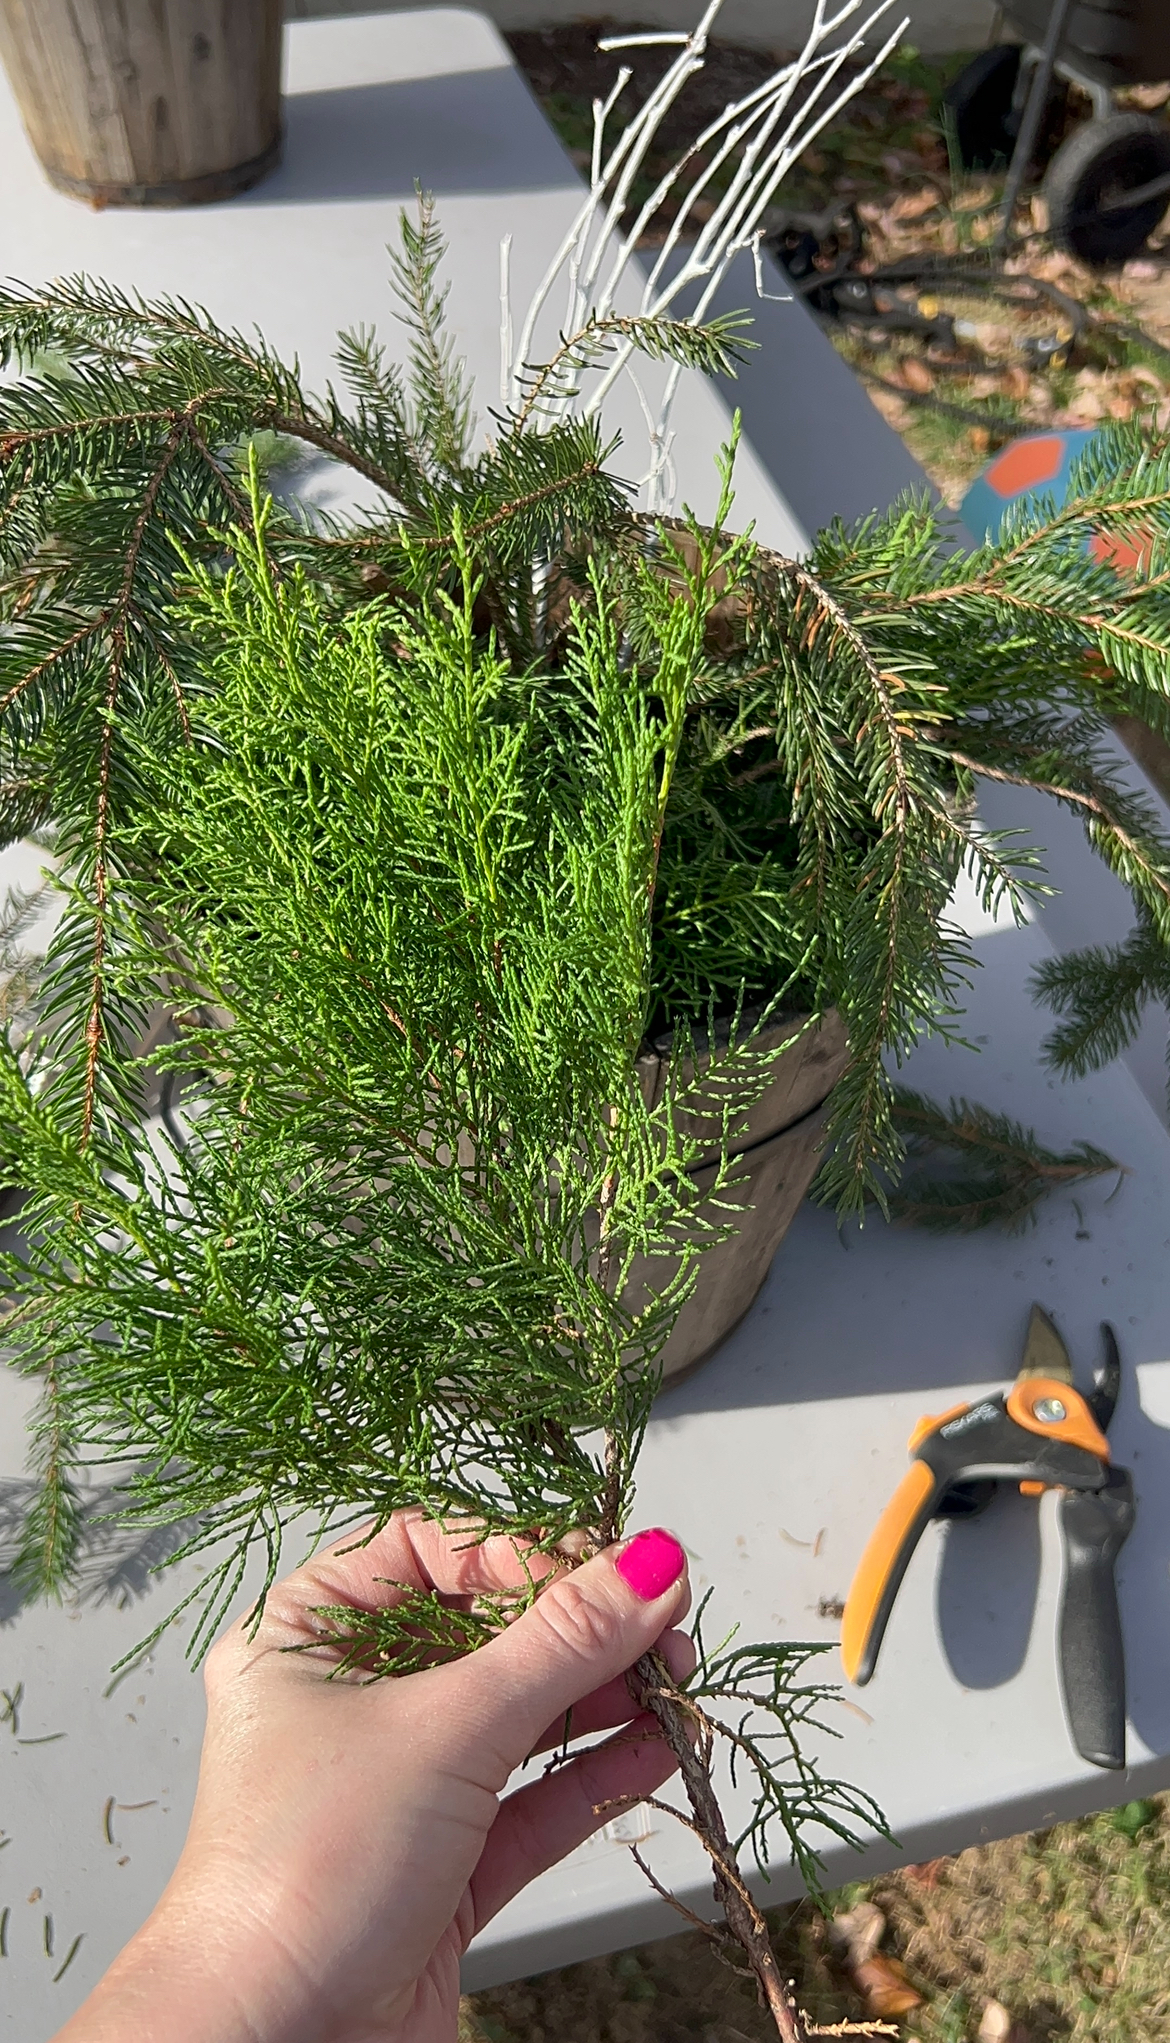
Once you've selected the very best branches for your winter porch pots, simply begin arranging the branches as you would like them in the pot. Be sure the stem is long enough to stay in place in the soil. You can see in my final result below that I placed the larger pine branches in the center and filled in the rest of the pot with evergreen clippings.
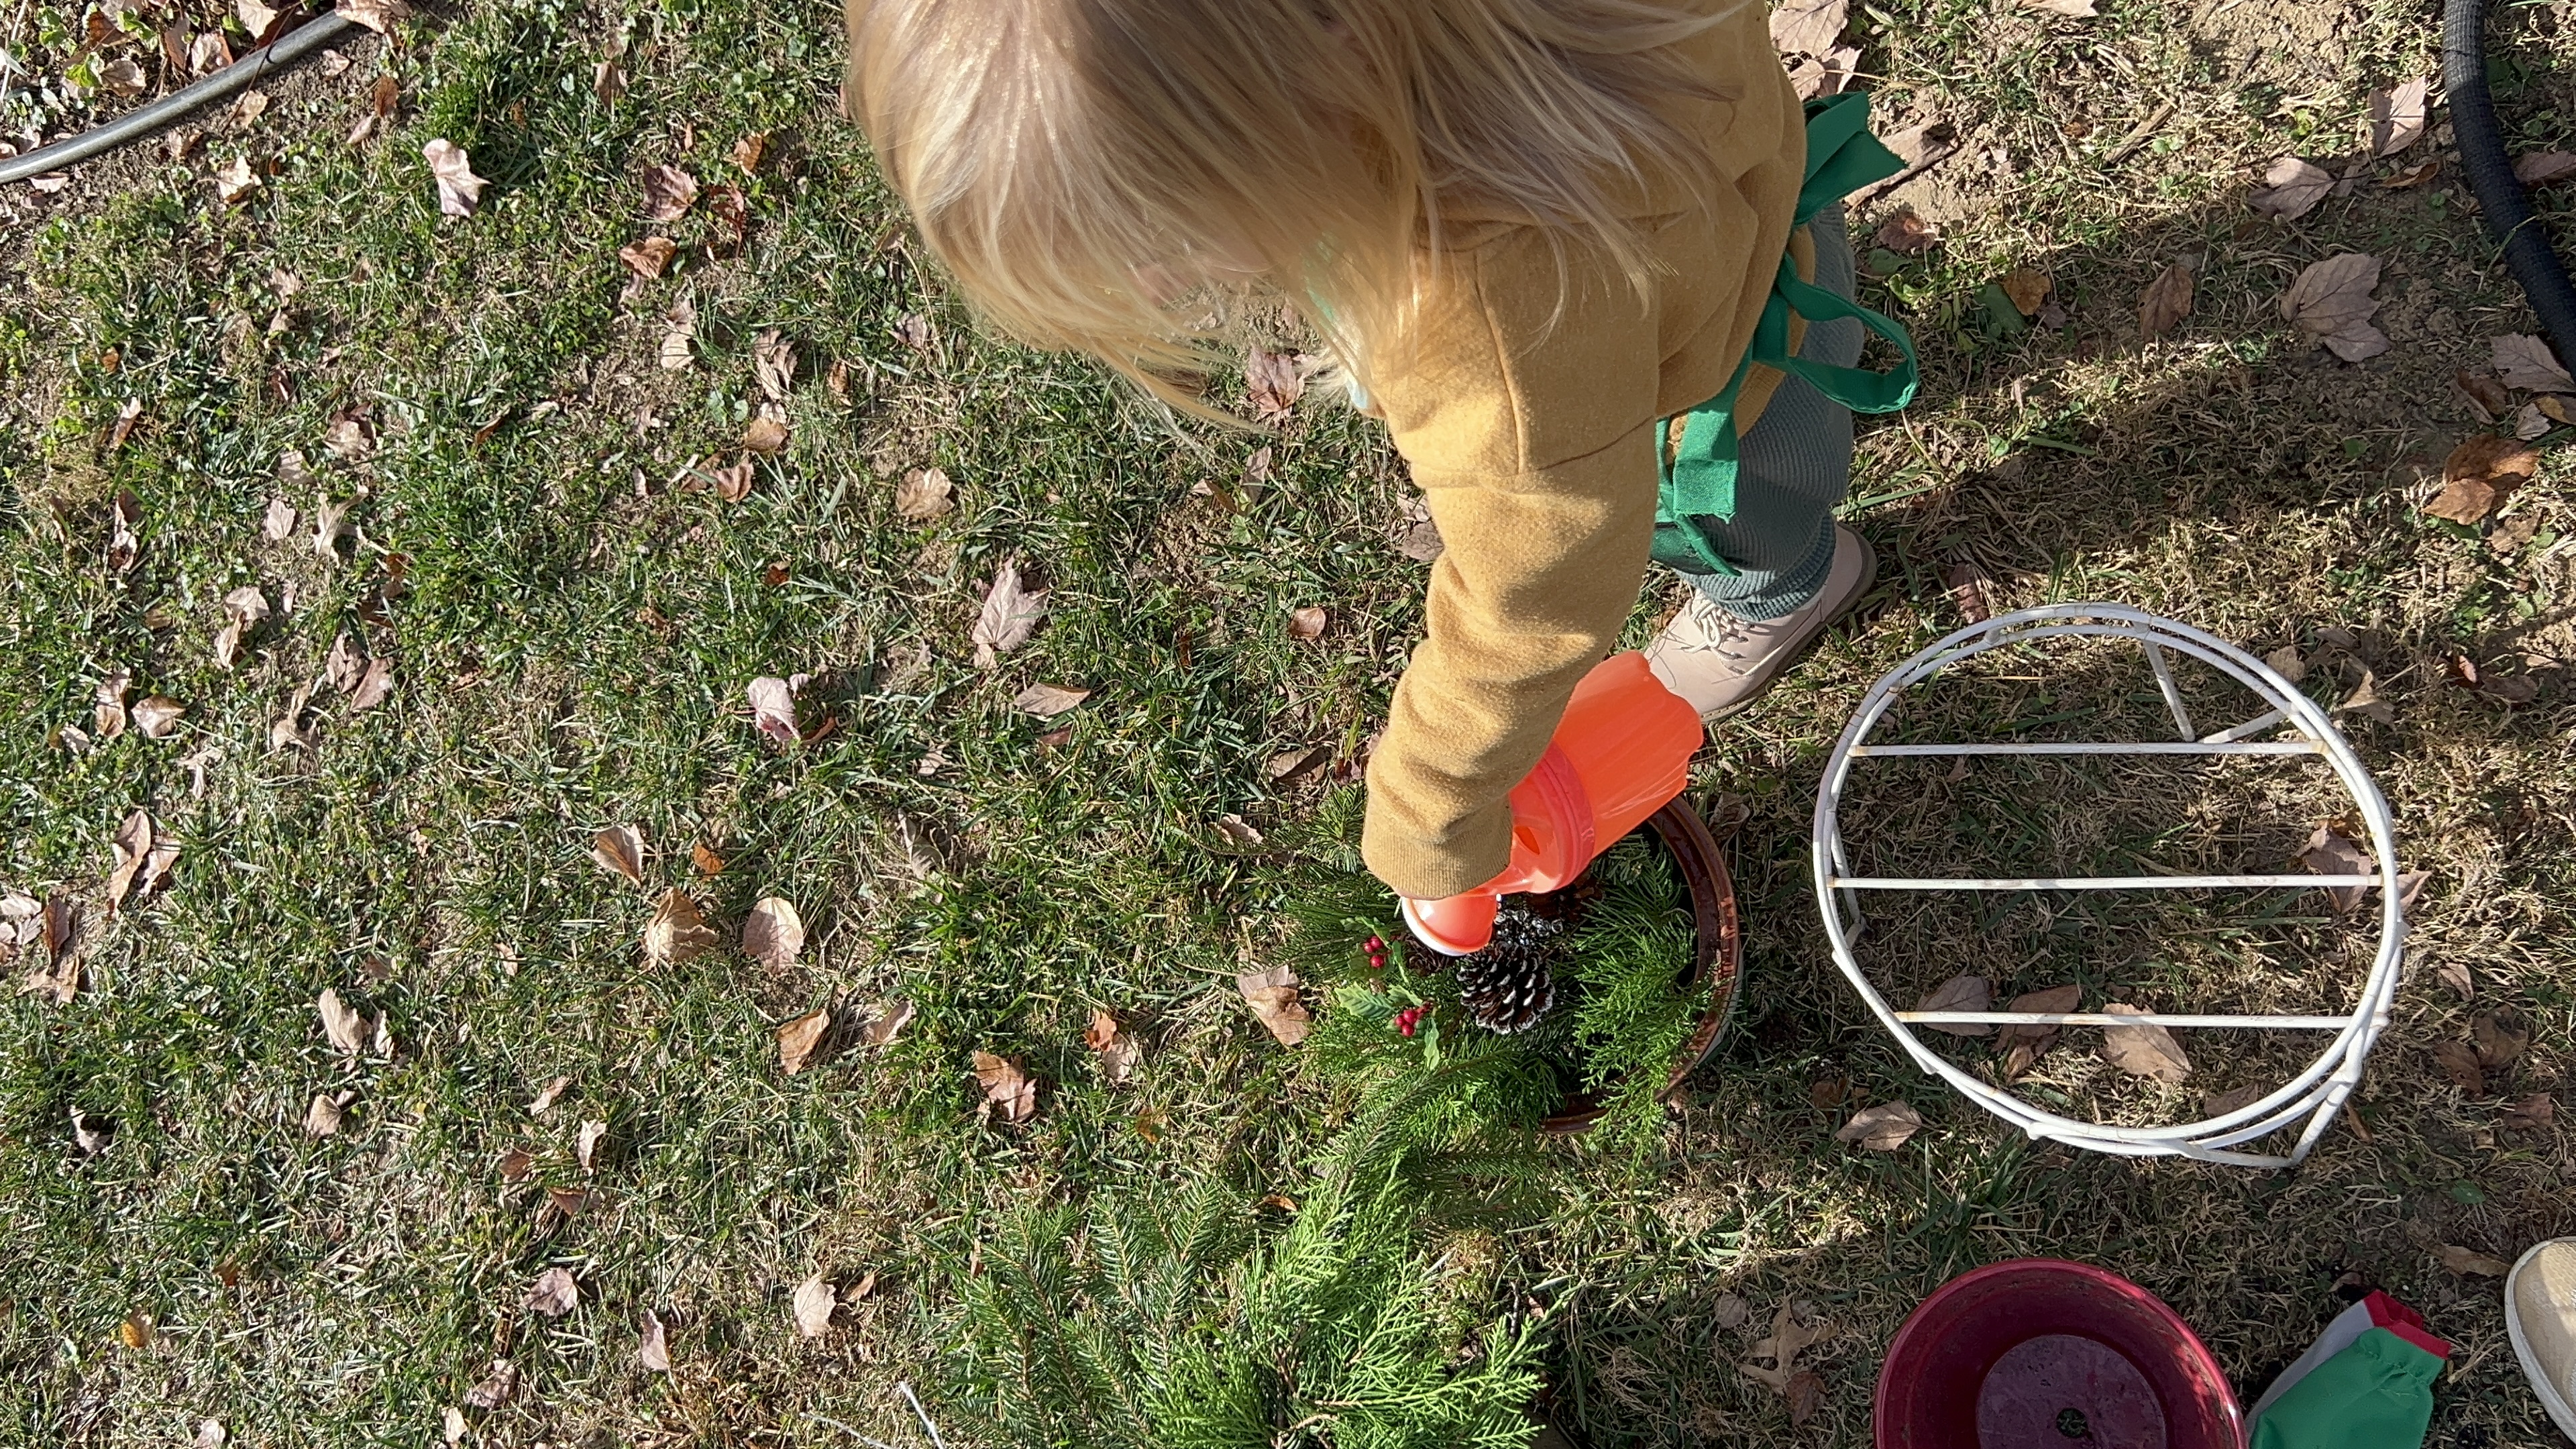
Once you are happy with how everything is arranged, give your winter porch pots one good watering. That's it! You can include your kids in this activity as well. My toddler had so much fun creating her little winter porch pot.
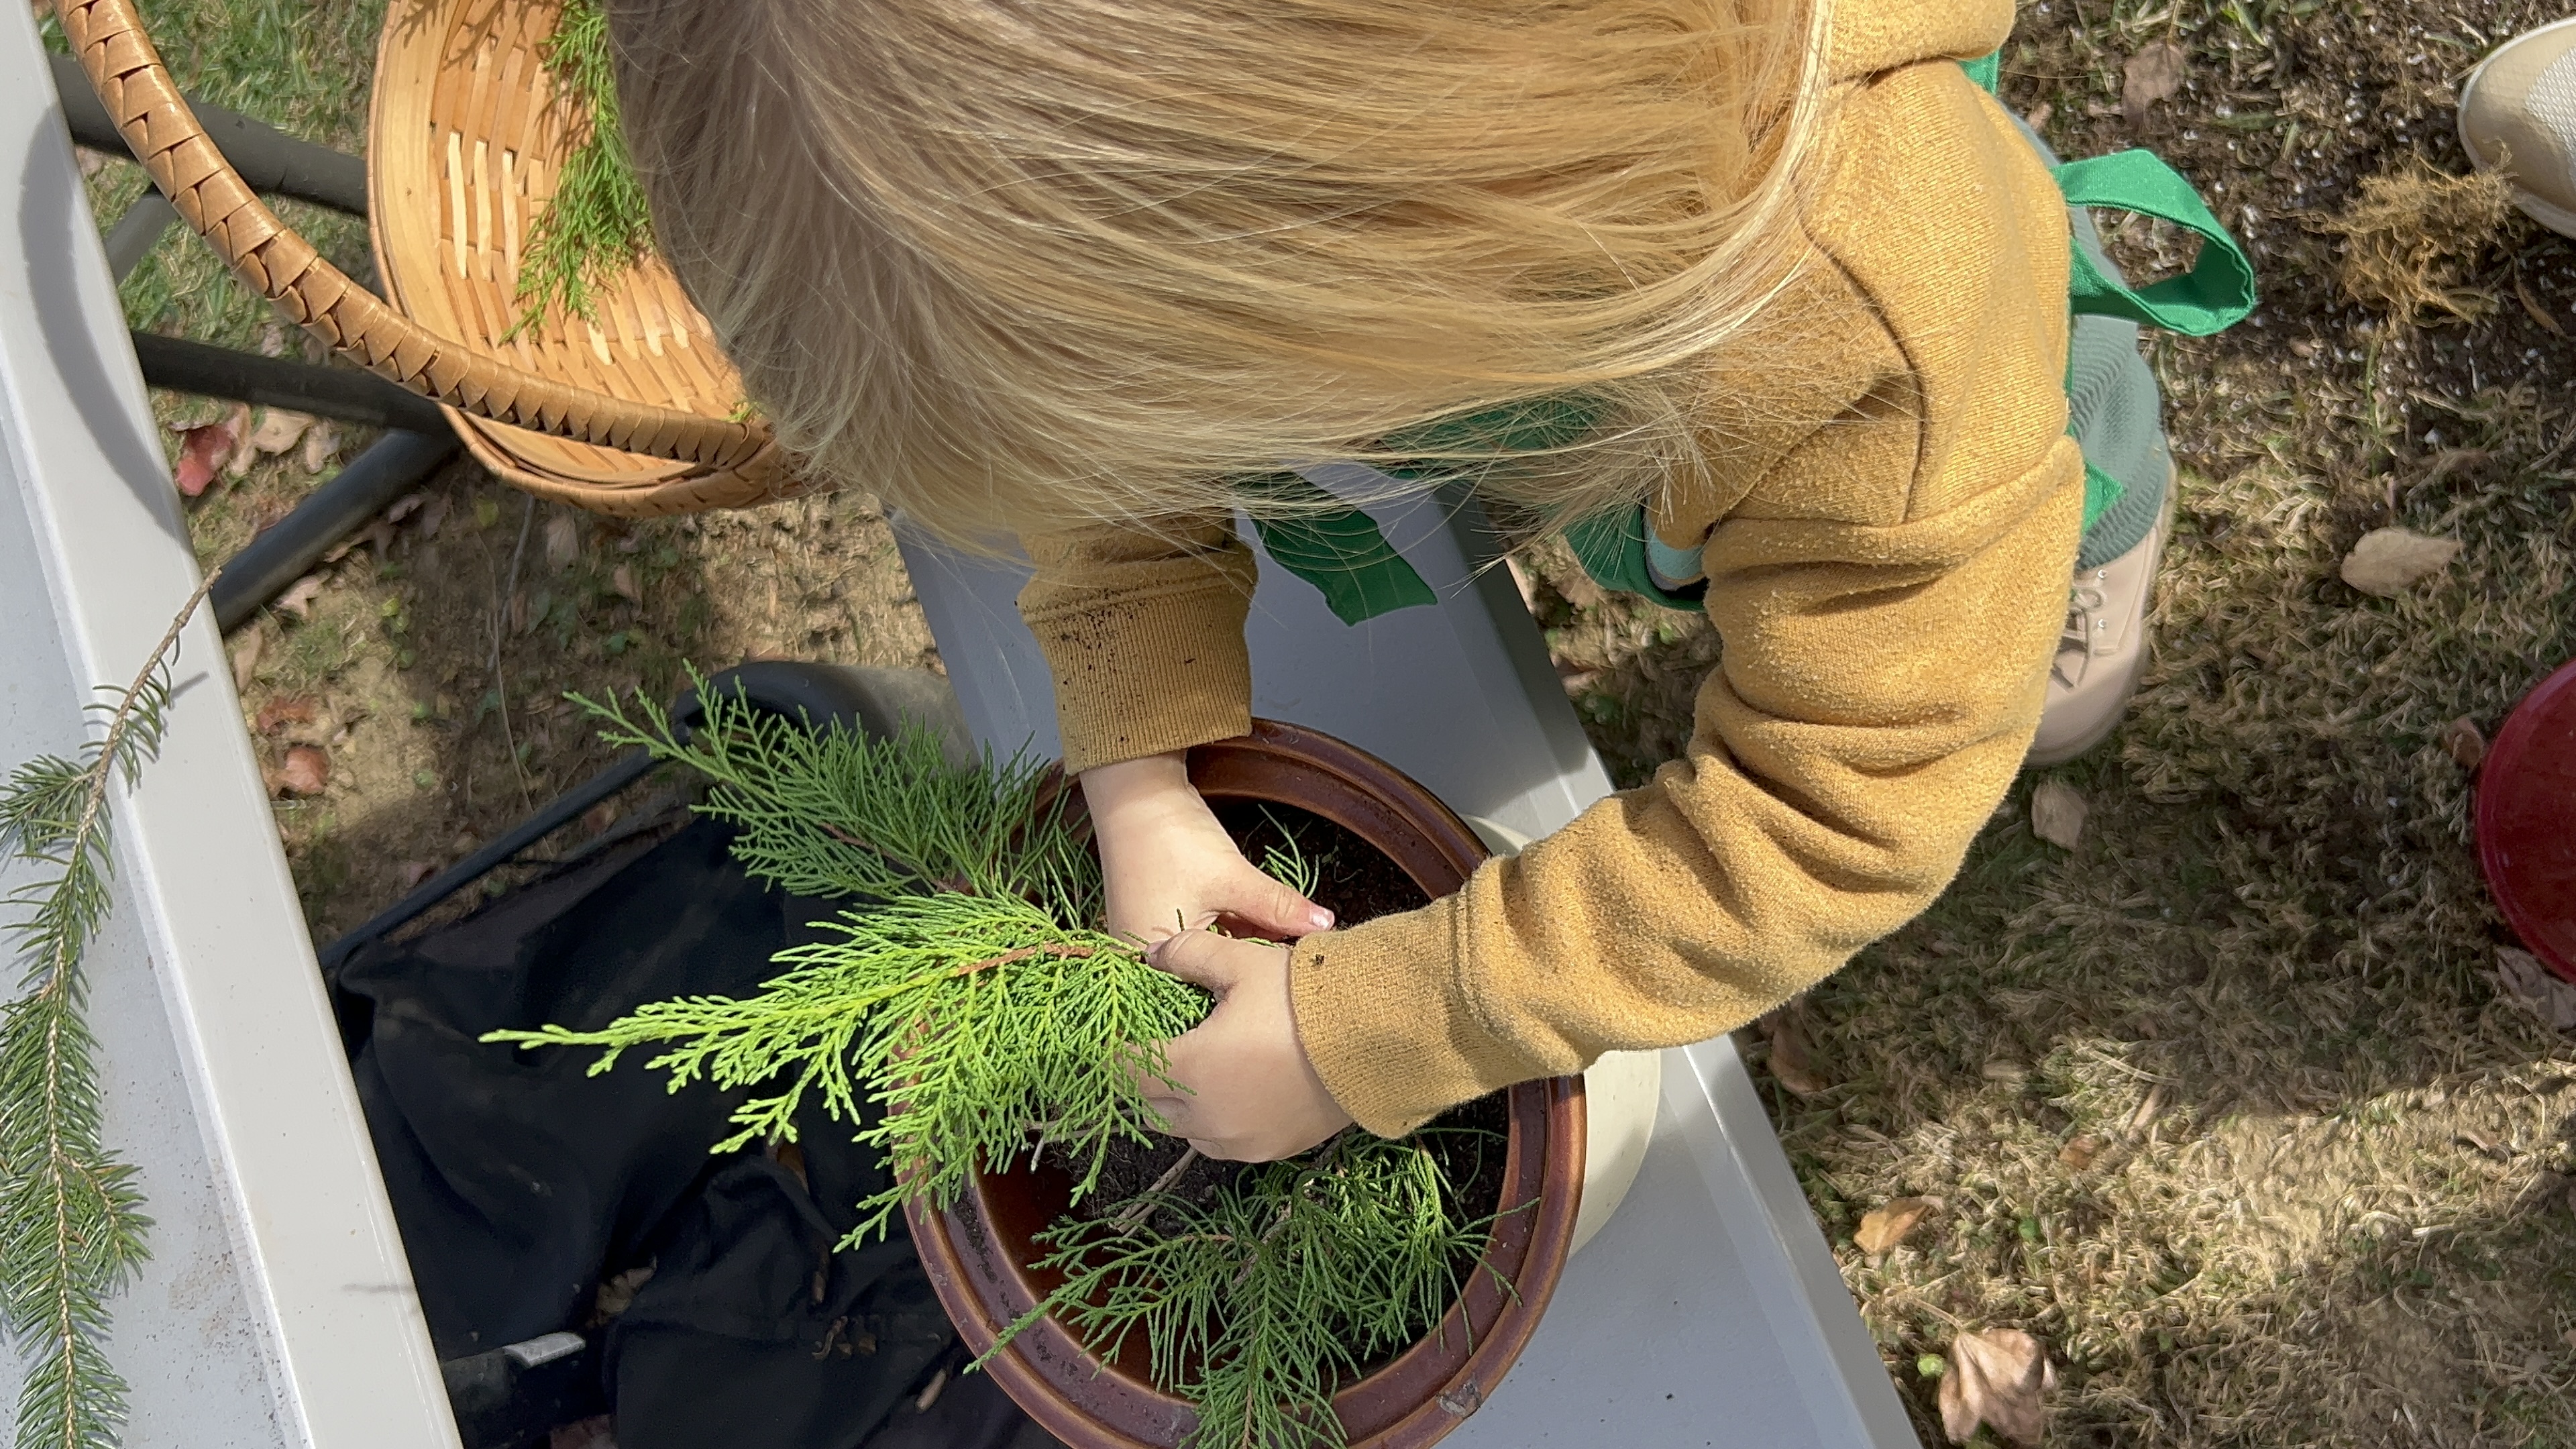
Here at Little Patch Flower Co. we love to encourage moms to pursue gardening with their little ones. Creating winter porch pots is a great activity, even for children as young as two years old. Here are my tips:
Give your child their own pot to work with alongside you.
Allow them to carry the basket of clippings after you gather your greens.
Ask for their opinion on how the arrangement looks.
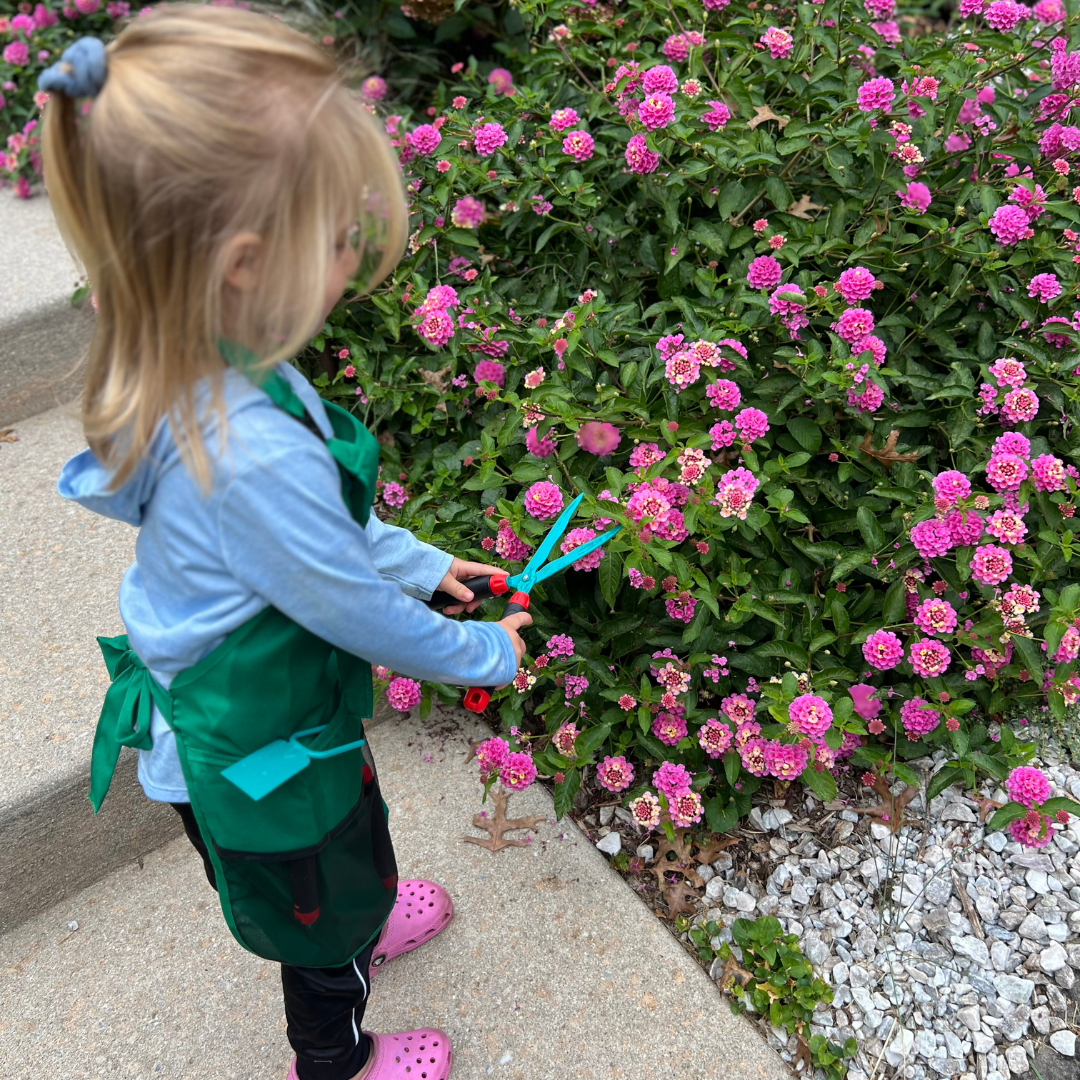
A final tip (not fully necessary) – have them dress the part! My daughter loves this kids’ gardening apron and tool set.
Have fun! If you don’t finish it all in one sitting, revisit the activity at a later time. Happy Holidays!

Create a warm welcome to your home with a homemade seasonal wreath. Here is how I made a boxwood Valentine’s Day floral wreath.
Learn how to enjoy gardening with your entire family by creating a whimsical children’s garden with captivating plants and interactive games.